Ninja Creami Mocha Espresso Protein Ice Cream Recipe
“`html
If you’re craving a rich, creamy treat that delivers a perfectly balanced boost of caffeine and protein, let me introduce you to the incredible Ninja Creami Mocha Espresso Protein Ice Cream. This indulgent yet wholesome dessert combines bold espresso flavor, smooth chocolate notes, and the satisfying texture of ice cream without any guilt. It’s a delicious way to enjoy your coffee fix while nourishing your body, and once you try it, you’ll wonder how you ever lived without this game-changing recipe.
Ingredients You’ll Need
The secret to making outstanding Ninja Creami Mocha Espresso Protein Ice Cream lies in using a few simple, carefully chosen ingredients that work harmoniously. Each component plays a crucial role in building flavor, texture, and that luscious mocha color you expect from a high-quality treat.
- Chocolate protein powder: This forms the creamy, motivating base packed with muscle-building protein and rich cocoa flavor.
- Cocoa powder: Adds depth to the chocolate taste and intensifies the mocha experience without extra sweetness.
- Chilled espresso or strong coffee (1/2 cup): Brings authentic coffee warmth and that all-important espresso kick to excite your palate.
- Milk of choice (1 cup): Whether dairy or non-dairy, milk creates smoothness and brings everything perfectly together.
- Optional mini chocolate chips or nut butter: Custom mix-ins for added texture and flavor diversity that makes every bite fun.
How to Make Ninja Creami Mocha Espresso Protein Ice Cream
Step 1: Combine Your Ingredients
Start by adding the chocolate protein powder, cocoa powder, chilled espresso, and your chosen milk into a Ninja Creami pint container. This blend is the soul of your ice cream, so make sure to measure carefully for the perfect balance.
Step 2: Whisk or Blend Until Smooth
Use a whisk or blender to mix all the ingredients thoroughly. You want to eliminate any lumps and achieve a velvety liquid base. This step helps ensure the final ice cream’s texture is creamy and uniform.
Step 3: Freeze Overnight
Place the pint in your freezer for at least eight hours, although overnight is ideal. This freezing period is essential as it allows your mixture to solidify fully and prepares it for the magic of the Ninja Creami machine.
Step 4: Process with the Ninja Creami
After freezing, set the pint in the Ninja Creami and select the ‘Lite Ice Cream’ or ‘Ice Cream’ setting. The machine will churn your frozen base into a smooth and creamy masterpiece, ready to devour.
Step 5: Adjust Texture and Add Mix-ins
If your Ninja Creami Mocha Espresso Protein Ice Cream comes out a little dry or crumbly, simply run it through the cycle again for an extra creamy finish. Then, sprinkle in mini chocolate chips or swirl in some nut butter and use the ‘mix-in’ feature for delightful bursts of flavor and texture.
Step 6: Scoop and Serve
Grab a spoon and dig in! This ice cream is ready to be enjoyed as a decadent yet nutritious treat that satisfies both your sweet tooth and your fitness goals.
How to Serve Ninja Creami Mocha Espresso Protein Ice Cream

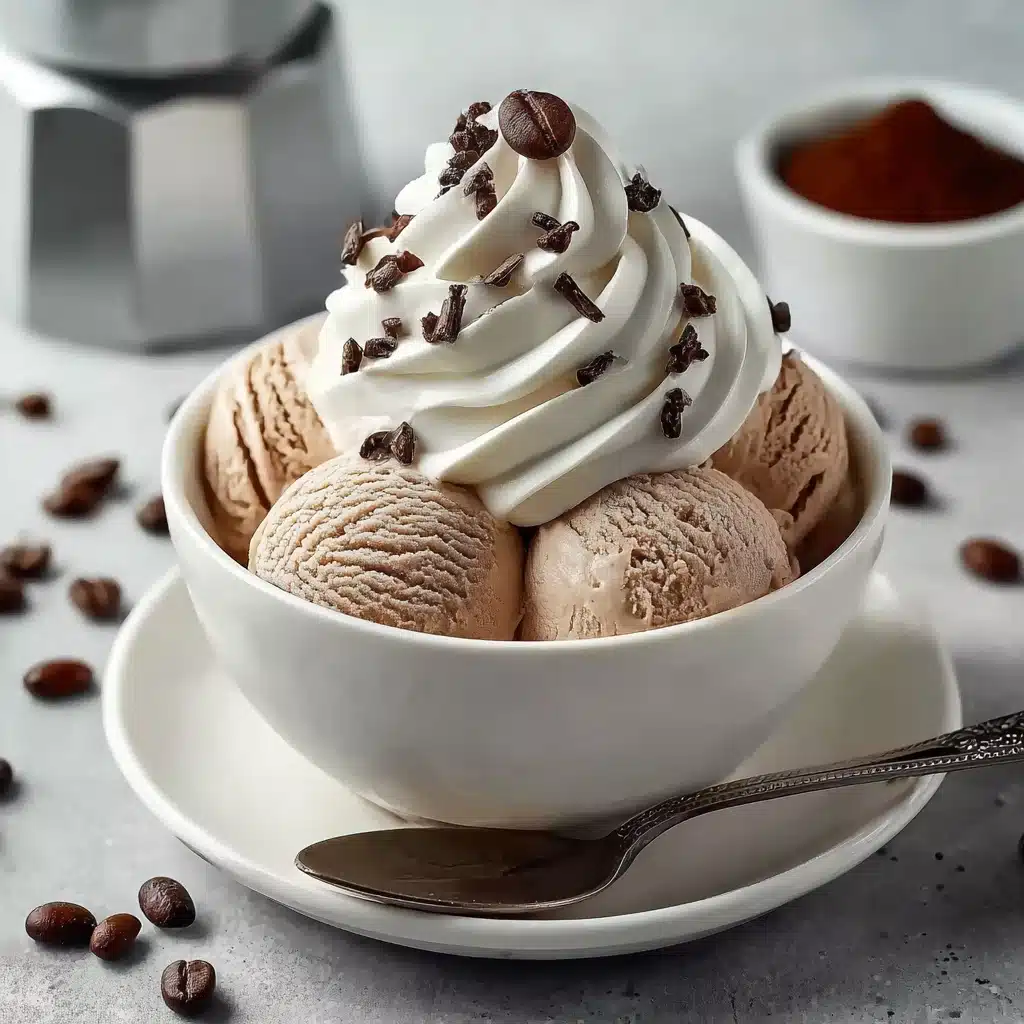
Garnishes
Elevate your serving by adding a dusting of cocoa powder on top or a sprinkle of finely crushed coffee beans for an extra espresso flair. Fresh mint leaves or a drizzle of dark chocolate sauce also pair beautifully, making your ice cream look as irresistible as it tastes.
Side Dishes
Pair your Ninja Creami Mocha Espresso Protein Ice Cream with crunchy granola or almond biscotti for an exciting textural contrast. A small bowl of fresh berries works wonderfully as well, offering a burst of fruity brightness alongside the rich mocha flavors.
Creative Ways to Present
For a stunning presentation, serve your ice cream in chilled espresso cups or clear glass bowls to showcase the mocha hue. Alternatively, create an elegant affogato by pouring a shot of hot espresso over a scoop of this ice cream, blending hot and cold sensations in every bite.
Make Ahead and Storage
Storing Leftovers
Keep any leftover Ninja Creami Mocha Espresso Protein Ice Cream in the freezer, tightly sealed within the original pint container or an airtight tub. Proper storage prevents freezer burn and keeps your ice cream tasting fresh and delicious for up to one week.
Freezing
This recipe freezes brilliantly, thanks to the protein powder and espresso foundation. Just make sure to give your ice cream enough time to harden completely before processing, and remember you can always re-spin in the Ninja Creami for that perfect scoopable texture after freezing.
Reheating
Since this is an ice cream dessert, reheating isn’t necessary, but if it freezes too hard, let it rest at room temperature for 5-10 minutes or run it through the Ninja Creami once more to soften it back to the ideal creamy consistency.
FAQs
Can I use regular coffee instead of espresso for Ninja Creami Mocha Espresso Protein Ice Cream?
Absolutely! Strong brewed coffee works just fine if you don’t have espresso on hand. The key is to keep it chilled and robust to maintain that distinct mocha buzz.
Is this recipe suitable for dairy-free diets?
Yes! Simply swap out regular milk with any plant-based milk like almond, oat, or coconut milk to make your Ninja Creami Mocha Espresso Protein Ice Cream vegan-friendly without sacrificing creaminess.
Can I add sweeteners to this ice cream?
Since the protein powder and cocoa add natural sweetness, additional sugar isn’t usually necessary. But if you prefer sweeter, you can add a small amount of honey, maple syrup, or a sugar substitute before freezing.
How many servings does this recipe make?
This recipe makes one Ninja Creami pint, which is typically enough for about 2-3 servings, depending on portion size and your appetite for mocha goodness.
What’s the best way to avoid ice crystals in my Ninja Creami Mocha Espresso Protein Ice Cream?
Ensuring a smooth, lump-free mixture before freezing and using the proper Ninja Creami settings helps minimize ice crystals. Also, avoiding temperature fluctuations in your freezer maintains the best creamy texture.
Final Thoughts
This Ninja Creami Mocha Espresso Protein Ice Cream is a joy to make and even more delightful to share. Its perfect balance of coffee, chocolate, and protein makes it a rewarding treat that fuels your day while indulging your senses. Trust me, once you try this recipe, it will become your go-to dessert for coffee lovers everywhere. You owe it to yourself to whip up this creamy, dreamy delight and experience the magic firsthand.
“`
PrintNinja Creami Mocha Espresso Protein Ice Cream Recipe

This Ninja Creami Mocha Espresso Protein Ice Cream combines the rich flavors of chocolate and espresso with the added benefit of protein powder for a delicious and nutritious frozen treat. Perfect for a post-workout snack or a guilt-free dessert, this recipe is easy to prepare and customizable with your choice of milk and mix-ins.
- Prep Time: 10 minutes
- Cook Time: 0 minutes
- Total Time: 8 hours 10 minutes
- Yield: 1 pint (approximately 2 servings) 1x
- Category: Dessert, Snack
- Method: Freezing, Blending
- Cuisine: American
- Diet: Low Fat
Ingredients
Base Ingredients
- 1 scoop chocolate protein powder
- 1 spoonful cocoa powder
- 1/2 cup chilled espresso or strong coffee
- 1 cup milk of choice (dairy or non-dairy)
Optional Mix-ins
- Mini chocolate chips (optional)
- Nut butter (optional)
Instructions
- Combine Ingredients: Add the chocolate protein powder, cocoa powder, chilled espresso, and your choice of milk into a Ninja Creami pint container.
- Mix Thoroughly: Whisk or blend the mixture until it is smooth and free from lumps to ensure a creamy texture.
- Freeze: Place the pint in the freezer and freeze overnight or for at least 8 hours until it is completely solid.
- Process in Ninja Creami: Once frozen, run the pint through the Ninja Creami using the ‘Lite Ice Cream’ or ‘Ice Cream’ setting according to your texture preference.
- Adjust Texture: If the ice cream appears dry or crumbly, use the re-spin feature to achieve a creamier consistency.
- Add Mix-ins: Incorporate optional mini chocolate chips or nut butter by adding them to the pint and using the ‘mix-in’ feature on the Ninja Creami.
- Serve: Scoop the protein ice cream into bowls or cones, serve immediately, and enjoy your homemade mocha espresso protein treat!
Notes
- Use strong brewed coffee or espresso for a robust mocha flavor.
- Milk can be substituted with any dairy or plant-based milk such as almond, oat, or soy milk.
- If you prefer a sweeter ice cream, consider adding a natural sweetener such as honey or stevia before freezing.
- For best results, ensure the mixture is completely smooth before freezing to avoid icy texture.
- Protein powder flavor can be adjusted to vanilla or mocha for a different twist.
- Store leftovers in the freezer and allow to soften slightly before serving.
Nutrition
- Serving Size: 1/2 pint (about 125g)
- Calories: 160
- Sugar: 3g
- Sodium: 100mg
- Fat: 2.5g
- Saturated Fat: 0.5g
- Unsaturated Fat: 1.5g
- Trans Fat: 0g
- Carbohydrates: 15g
- Fiber: 3g
- Protein: 20g
- Cholesterol: 5mg
Keywords: Ninja Creami, protein ice cream, mocha flavor, espresso ice cream, chocolate protein dessert, low calorie dessert, healthy ice cream recipe