Midnight Fudge Cake Recipe
Introduction
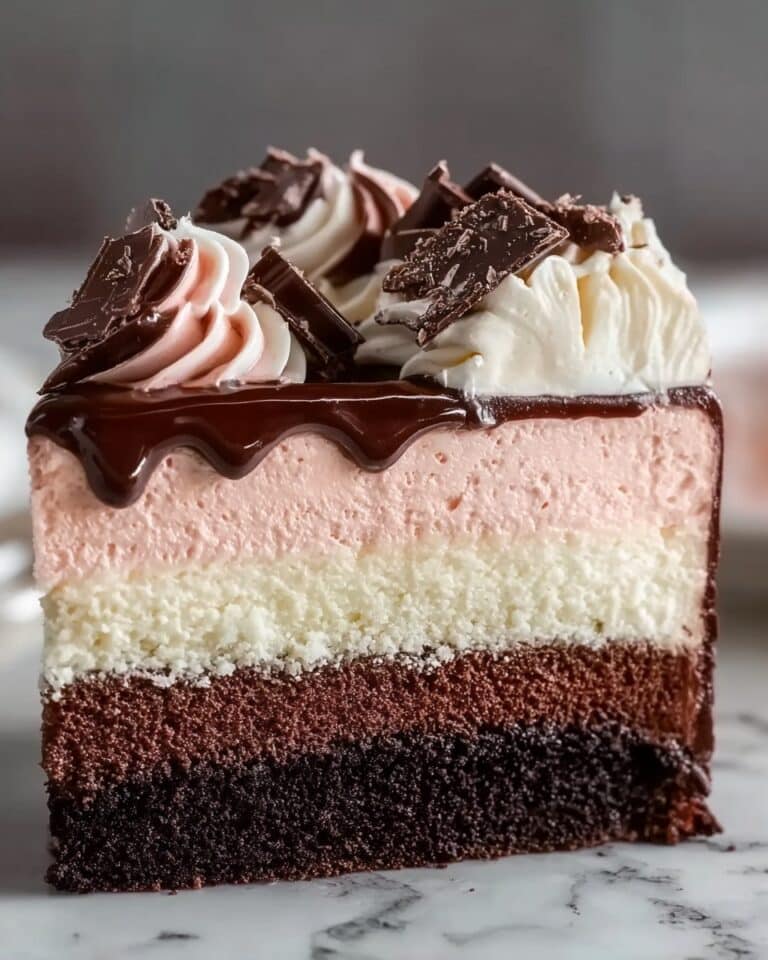
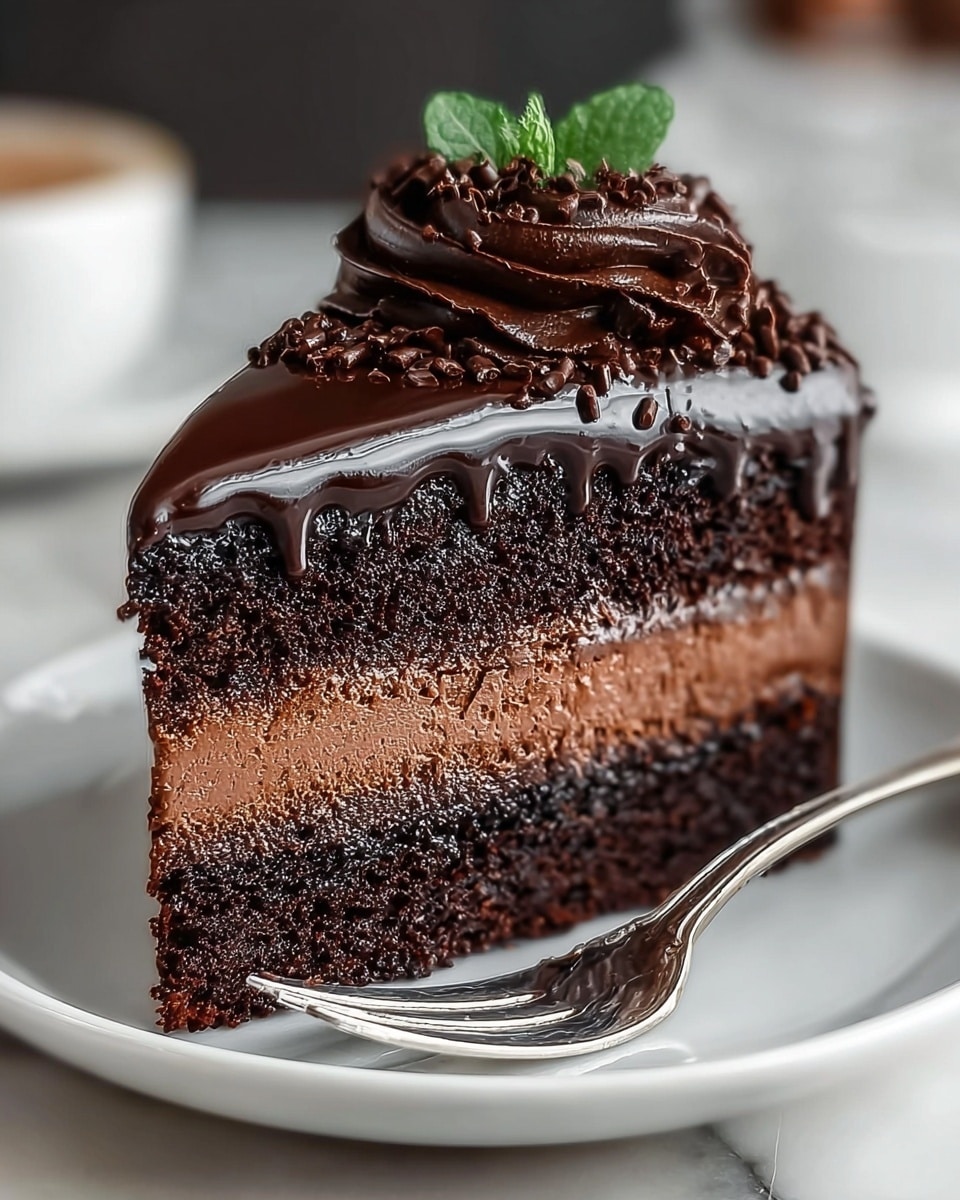
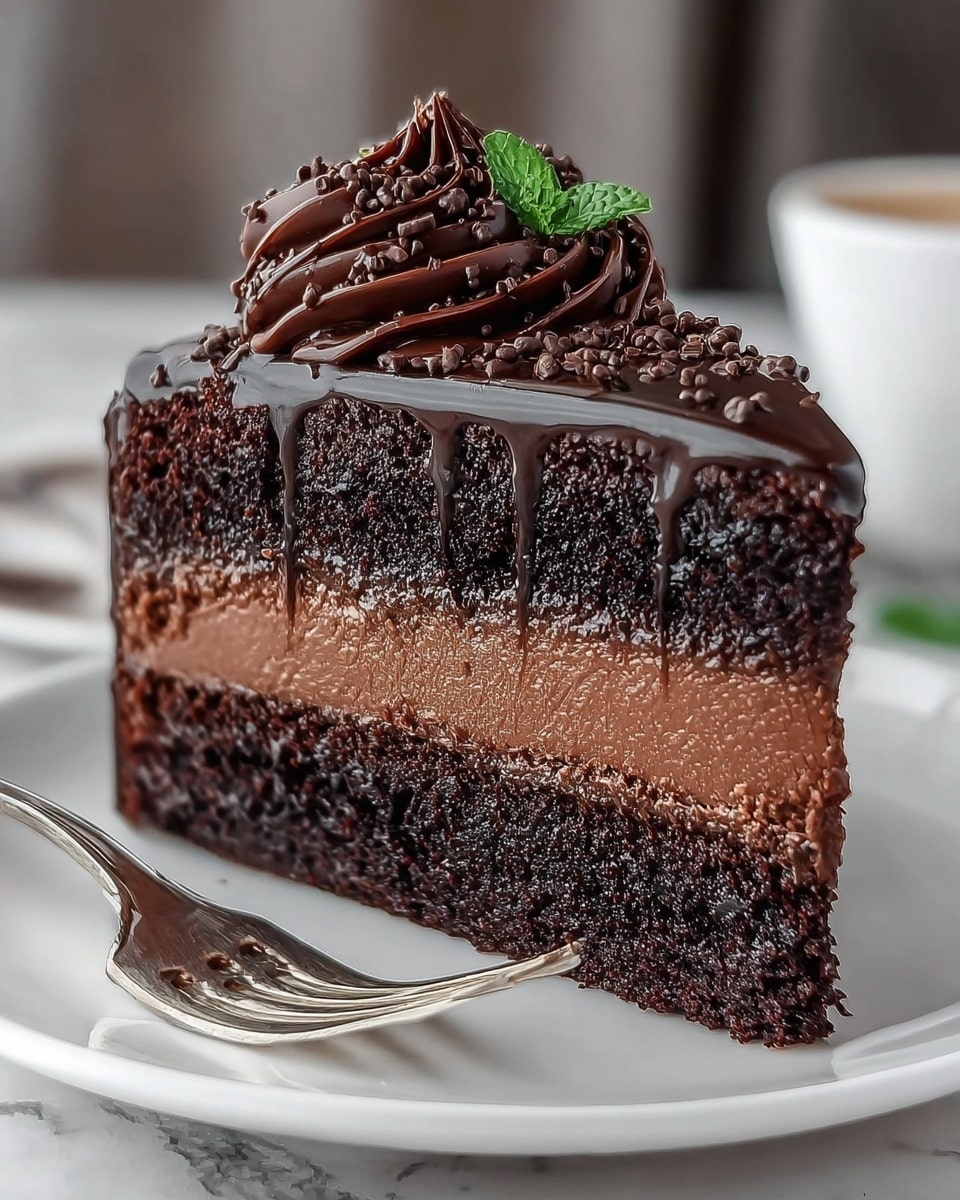
Midnight Fudge Cake is a rich, moist chocolate cake perfect for any special occasion or a cozy night in. With its deep chocolate flavor and luscious fudge frosting, this cake is sure to satisfy your sweetest cravings.
Ingredients
- 2 cups all-purpose flour
- 2 cups granulated sugar
- ¾ cup unsweetened cocoa powder
- 1 ½ teaspoons baking powder
- 1 ½ teaspoons baking soda
- 1 teaspoon salt
- 1 cup buttermilk
- ½ cup vegetable oil
- 2 large eggs
- 2 teaspoons vanilla extract
- 1 cup boiling water
- 1 cup (2 sticks) unsalted butter, softened
- 3 cups powdered sugar
- ¾ cup unsweetened cocoa powder
- ½ cup milk
- 1 teaspoon vanilla extract
- Pinch of salt
- Chocolate shavings (for decoration)
- Fresh berries (raspberries, strawberries, for decoration)
- Chopped nuts (walnuts, pecans, for decoration)
Instructions
- Step 1: Preheat the oven to 350°F (175°C). Grease and flour two 9-inch round cake pans.
- Step 2: In a large bowl, whisk together the flour, sugar, cocoa powder, baking powder, baking soda, and salt.
- Step 3: In a separate bowl, whisk the buttermilk, vegetable oil, eggs, and vanilla extract until combined.
- Step 4: Gradually add the wet ingredients to the dry ingredients, mixing on low speed until just combined. Avoid overmixing.
- Step 5: Carefully pour the boiling water into the batter and mix on low speed until smooth and thin.
- Step 6: Divide the batter evenly between the prepared cake pans.
- Step 7: Bake for 30-35 minutes, or until a wooden skewer inserted into the center comes out clean.
- Step 8: Let the cakes cool in the pans for 10 minutes.
- Step 9: Invert the cakes onto a wire rack and allow them to cool completely.
- Step 10: In a large bowl, cream the softened butter with an electric mixer until light and fluffy.
- Step 11: Gradually add the powdered sugar and cocoa powder to the creamed butter, mixing on low speed until combined.
- Step 12: Gradually add the milk and vanilla extract, and beat on medium speed until the frosting is smooth and creamy.
- Step 13: Add a pinch of salt to balance the sweetness and enhance the chocolate flavor.
- Step 14: Continue beating the frosting for another 2-3 minutes until light and fluffy.
- Step 15: If the cakes have a dome, level the tops with a serrated knife for even layers.
- Step 16: Place one cake layer on a serving plate or cake stand and spread a generous layer of fudge frosting evenly over the top.
- Step 17: Carefully place the second cake layer on top.
- Step 18: Frost the top and sides of the cake with the remaining fudge frosting.
- Step 19: Decorate with chocolate shavings, fresh berries, or chopped nuts as desired.
- Step 20: Refrigerate the cake for at least 30 minutes before serving to set the frosting.
Tips & Variations
- Use coffee instead of boiling water to deepen the chocolate flavor without adding a coffee taste.
- For a dairy-free version, substitute buttermilk with a plant-based milk mixed with a tablespoon of lemon juice, and use vegan butter in the frosting.
- Add a splash of espresso powder to the frosting for a mocha twist.
- Chill the cake layers before frosting to reduce crumbs and make spreading easier.
Storage
Store the Midnight Fudge Cake covered in the refrigerator for up to 4 days. Bring to room temperature before serving for the best texture and flavor. Leftover cake can also be wrapped tightly and frozen for up to 2 months; thaw overnight in the refrigerator before serving.
How to Serve
Serve this delicious recipe with your favorite sides.
FAQs
Can I use regular milk instead of buttermilk?
Yes, you can substitute regular milk with 1 tablespoon of lemon juice or vinegar added per cup to mimic buttermilk. Let it sit for 5-10 minutes before using.
How do I prevent the cake from drying out?
Be careful not to overbake the cake. Check for doneness a few minutes before the suggested time by inserting a toothpick into the center. Also, frosting and storing the cake properly helps keep it moist.
PrintMidnight Fudge Cake Recipe

This Midnight Fudge Cake is a rich, moist chocolate cake made with layers of silky fudge frosting. It features a deep chocolate flavor from cocoa powder and is beautifully adorned with chocolate shavings, fresh berries, and chopped nuts. Perfectly balanced with a pinch of salt in the frosting to enhance the chocolate intensity, this decadent dessert is sure to impress at any gathering.
- Prep Time: 20 minutes
- Cook Time: 35 minutes
- Total Time: 1 hour 5 minutes
- Yield: 12 servings 1x
- Category: Dessert
- Method: Baking
- Cuisine: American
Ingredients
Cake:
- 2 cups all-purpose flour
- 2 cups granulated sugar
- ¾ cup unsweetened cocoa powder
- 1 ½ teaspoons baking powder
- 1 ½ teaspoons baking soda
- 1 teaspoon salt
- 1 cup buttermilk
- ½ cup vegetable oil
- 2 large eggs
- 2 teaspoons vanilla extract
- 1 cup boiling water
Frosting:
- 1 cup (2 sticks) unsalted butter, softened
- 3 cups powdered sugar
- ¾ cup unsweetened cocoa powder
- ½ cup milk
- 1 teaspoon vanilla extract
- Pinch of salt
Decoration:
- Chocolate shavings
- Fresh berries (raspberries, strawberries)
- Chopped nuts (walnuts, pecans)
Instructions
- Preheat and prepare pans: Preheat the oven to 350°F (175°C). Grease and flour two 9-inch round cake pans to ensure the cakes do not stick.
- Mix dry ingredients: In a large bowl, whisk together the all-purpose flour, granulated sugar, unsweetened cocoa powder, baking powder, baking soda, and salt until combined evenly.
- Mix wet ingredients: In a separate bowl, whisk together the buttermilk, vegetable oil, eggs, and vanilla extract until smooth.
- Combine wet and dry ingredients: Gradually add the wet ingredients to the dry ingredients, mixing on low speed just until combined. Be careful not to overmix to keep the cake tender.
- Add boiling water: Carefully pour the boiling water into the batter while mixing on low speed until the mixture is smooth and thin. This step helps create a moist cake texture.
- Pour batter into pans: Evenly divide the batter between the prepared cake pans ensuring they’re balanced for even baking.
- Bake the cakes: Bake for 30 to 35 minutes or until a wooden skewer inserted into the center of the cakes comes out clean, indicating they are done.
- Cool cakes in pans: Remove cakes from the oven and let them cool in the pans for about 10 minutes to set.
- Invert and cool completely: Carefully invert the cakes onto wire racks and let them cool completely before frosting.
- Prepare frosting base: In a large bowl, cream the softened unsalted butter with an electric mixer until it becomes light and fluffy, which will give the frosting a smooth texture.
- Add powdered sugar and cocoa: Gradually add powdered sugar and unsweetened cocoa powder to the creamed butter, mixing on low speed until fully combined and smooth.
- Add milk and vanilla: Slowly add the milk and vanilla extract to the frosting, mixing on medium speed until the frosting is smooth, creamy, and spreadable.
- Balance the sweetness: Add a pinch of salt to the frosting and continue beating for 2 to 3 minutes to enhance the chocolate flavor and lighten the texture.
- Level the cake layers: If the cakes have domed tops, carefully level them using a serrated knife to ensure flat surfaces for stacking.
- Assemble the cake – first layer: Place one cake layer on a serving plate or cake stand and spread a generous, even layer of fudge frosting over the top.
- Place second layer: Gently place the second cake layer on top of the frosted layer, aligning edges.
- Frost the cake: Use the remaining fudge frosting to cover the top and sides of the assembled cake smoothly.
- Decorate: Decorate the cake with chocolate shavings, fresh berries like raspberries and strawberries, and chopped nuts such as walnuts and pecans to add texture and visual appeal.
- Chill before serving: Refrigerate the fully frosted cake for at least 30 minutes to help set the frosting and enhance the flavors before slicing and serving.
Notes
- Make sure the cakes are completely cooled before frosting to prevent the frosting from melting.
- You can substitute the all-purpose flour with gluten-free flour blend if needed.
- The boiling water helps to intensify the chocolate flavor and creates a tender crumb.
- For a richer flavor, use high-quality unsweetened cocoa powder.
- Store leftover cake covered in the refrigerator for up to 3 days.
- Let refrigerated cake come to room temperature for about 20 minutes before serving for best texture.
Keywords: chocolate cake, fudge cake, chocolate dessert, layered cake, homemade chocolate cake, rich chocolate frosting